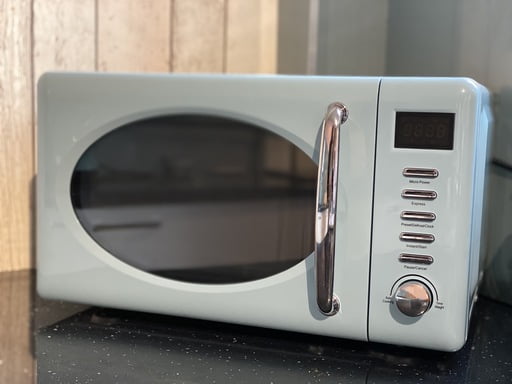
Microwave installation
Microwave installation can vary, but here’s a general guide:
- Choose a Location:
- Select a location with sufficient space around the microwave for ventilation and ease of use.
- Check Power Requirements:
- Ensure the microwave’s power requirements match the available power source.
- Use a dedicated electrical outlet with the appropriate voltage.
- Ventilation:
- Some microwaves have a venting system. If yours does, decide whether to vent it externally or recirculate the air.
- Mounting or Placement:
- If it’s a built-in microwave, follow the manufacturer’s instructions for proper installation within cabinetry.
- For countertop models, place the microwave on a flat, stable surface.
- Plug In:
- Plug the microwave into the electrical outlet.
- Test Run:
- Perform a test run to ensure the microwave is working properly.
- Read the Manual:
- Read the user manual for any specific recommendations or additional features.
- Venting (If Applicable):
- If your microwave has a vent, follow the manufacturer’s guidelines for proper installation and use.
- Safety Check:
- Ensure the microwave door seals properly and that safety features, like the door interlock system, are functioning correctly.
Always refer to the specific instructions provided by the manufacturer for your microwave model. If you’re unsure about any step or if you’re dealing with a built-in model, consider consulting a professional installer for assistance.
