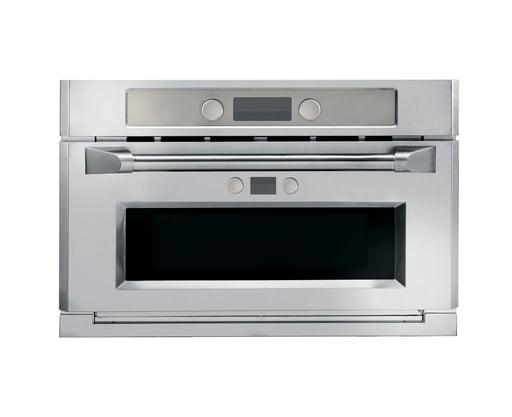
Oven Installation
Oven installation can vary based on the type of oven (built-in or freestanding) and the specific model, but here’s a general guide:
For Built-In Ovens:
- Read the Manual:
- Start by thoroughly reading the installation manual provided by the manufacturer.
- Location:
- Choose a suitable location for the oven, following the specified cutout dimensions.
- Power Supply:
- Ensure the power supply matches the oven’s requirements.
- If necessary, hire an electrician to install the correct power outlet.
- Ventilation:
- Some ovens require proper ventilation. Follow the manufacturer’s guidelines for venting.
- Positioning:
- Carefully position the oven in its designated space.
- Securement:
- Use any provided brackets or screws to secure the oven to the surrounding cabinets.
- Connect Power:
- Connect the oven to the power supply according to the manufacturer’s instructions.
- Test Run:
- Perform a test run to ensure the oven is heating up properly.
- Final Checks:
- Check that the oven door opens and closes smoothly.
- Verify that any features, such as lights or timers, are functioning correctly.
For Freestanding Ovens:
- Location:
- Choose a suitable location for the oven, ensuring proper ventilation.
- Leveling:
- Place the oven on a level surface.
- Power Supply:
- Confirm that the power supply matches the oven’s requirements.
– Plug the oven into a grounded outlet.
- Confirm that the power supply matches the oven’s requirements.
- Ventilation:
- Ensure there is adequate airflow around the oven.
- Test Run:
- Run a short test cycle to ensure the oven is operating correctly.
- Final Checks:
- Check that the oven door opens and closes smoothly.
- Ensure all controls and features are functioning correctly.
Always follow the specific instructions provided in the installation manual for your oven model. If you’re uncertain about any step, it’s advisable to consult a professional installer or electrician to ensure a safe and accurate installation.
